Getting Started
This is a tutorial on how to launch a simulated NAO robot in the SimSpark simulator using ROS2.
Attention
This tutorial assumes that you have set up rcssserver3d on your computer. If you haven’t done so already, go to SimSpark’s Gitlab and follow the installation instructions.
Starting the Simulator
In a terminal, start the simulator by running:
rcsoccersim3d
Tip
Simulator tends to crash sometimes when connecting / disconnecting agents, which leaves unwanted server processes lingering. To kill this process, run pkill -9 rcssserver3d before restarting the simulation server.
Launching a Player
To run rcss3d_nao as a standalone application, in a new terminal, run:
ros2 run rcss3d_nao rcss3d_nao
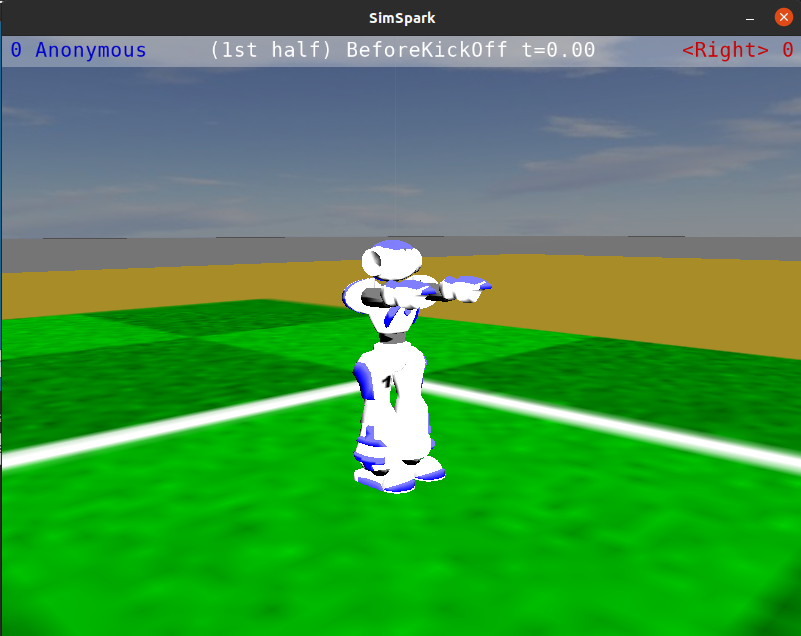
Moving around the simulator camera with the WASD keys and the mouse, you should see your robot at the corner of the field, as below:
Beaming the Robot
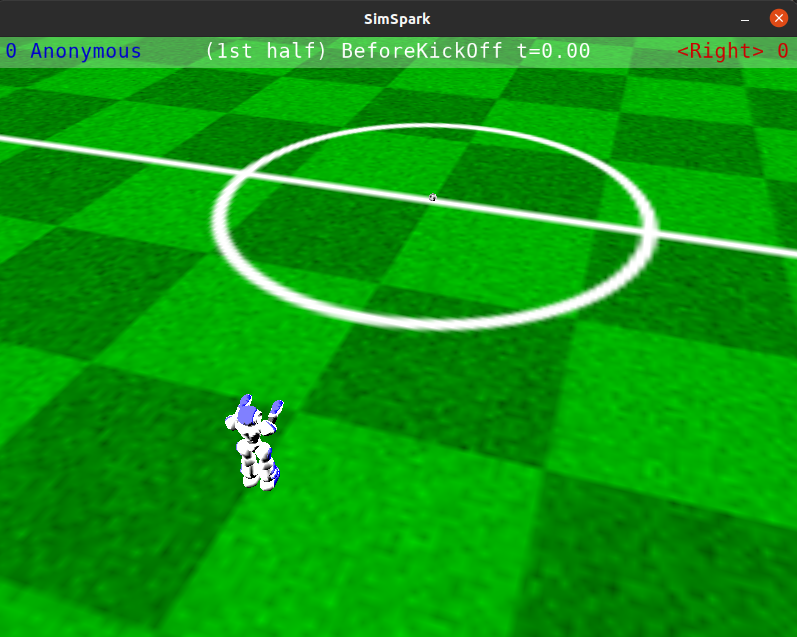
The Beam Effector allows a player to position itself on the field before the start of each half. In this example, we will move the robot to four metres behind the centre circle, facing it. The coordinate of the robot after beamed will be (-4.0, 0.0, 0.0).
In a new terminal, run:
ros2 topic pub --once effectors/beam rcss3d_agent_msgs/msg/Beam "
x: -4.0
y: 0.0
rot: 0.0
"
In the simulator, you should see the robot has moved to the requested pose as below:
Moving the Robot’s Joints
To send a joint command to the simulated robot, you must publish nao_command_msgs/msg/JointPositions data
to the effectors/joint_positions topic:
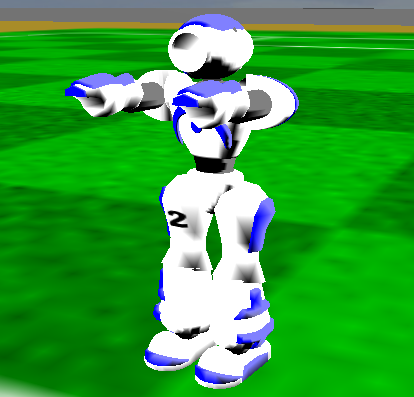
Let’s try and rotate the HeadYaw joint so that the robot faces 90 degrees to the left. To do so, we publish an array of joint angles, and specify 1.57 radians (90 degrees) for the HeadYaw joint.
In a new terminal, run:
ros2 topic pub --once effectors/joint_positions nao_command_msgs/msg/JointPositions '{indexes:[0], positions:[1.57]}'
In the simulation monitor, you should see the robot with its head twisted.
See also
See joint_indexes to see which joint corresponds to each index of the float array published in the previous message.
Tip
Spend a bit of time playing around with the angles for each joint if you are not familiar with the NAO’s joints!
Print out Published Topics
Let’s try and print out the visual ball information received by our simulated robot. In a new terminal, run:
ros2 topic echo soccer_vision_3d/balls
The terminal will start echoing information the agent is publishing to the soccer_vision_3d/balls topic, like below:
header:
  stamp:
      sec: 0
      nanosec: 0
  frame_id: CameraTop_frame
  balls:
  - center:
      x: 14.210767712208556
      y: -9.207436569105516
      z: -0.4907249223563084
  confidence:
      confidence: -1.0
---
Other topics the agent is publishing to are listed in Topics. By writing a node that subscribes to these topics, you can access this information in your own package.
Summary
That’s it! You should by now know how to
start up a simulated robot
beam the robot
send joint position commands
access sensor information